Friday, October 19, 2018

Why You Should Add A Sensory Bin To Your Learning Centers


It's no secret that kids learn better when they can experience whatever it is they are studying. Books and crafts are great. We absolutely love both of those things and use them All. The. Time.

But we also use a simple but powerful box of learning magic to reinforce every unit we learn about. It's full of wonderful goodness that contains amazing objects that enhance understanding and hold the attention of my tiny learners. 

It's called a sensory bin.


They can be as simple as white rice and cups or as detailed as a scene with miniature animals. They can help kids better understand concepts like shapes, colors, science, habitats, life cycles... The possibilities are truly endless. 

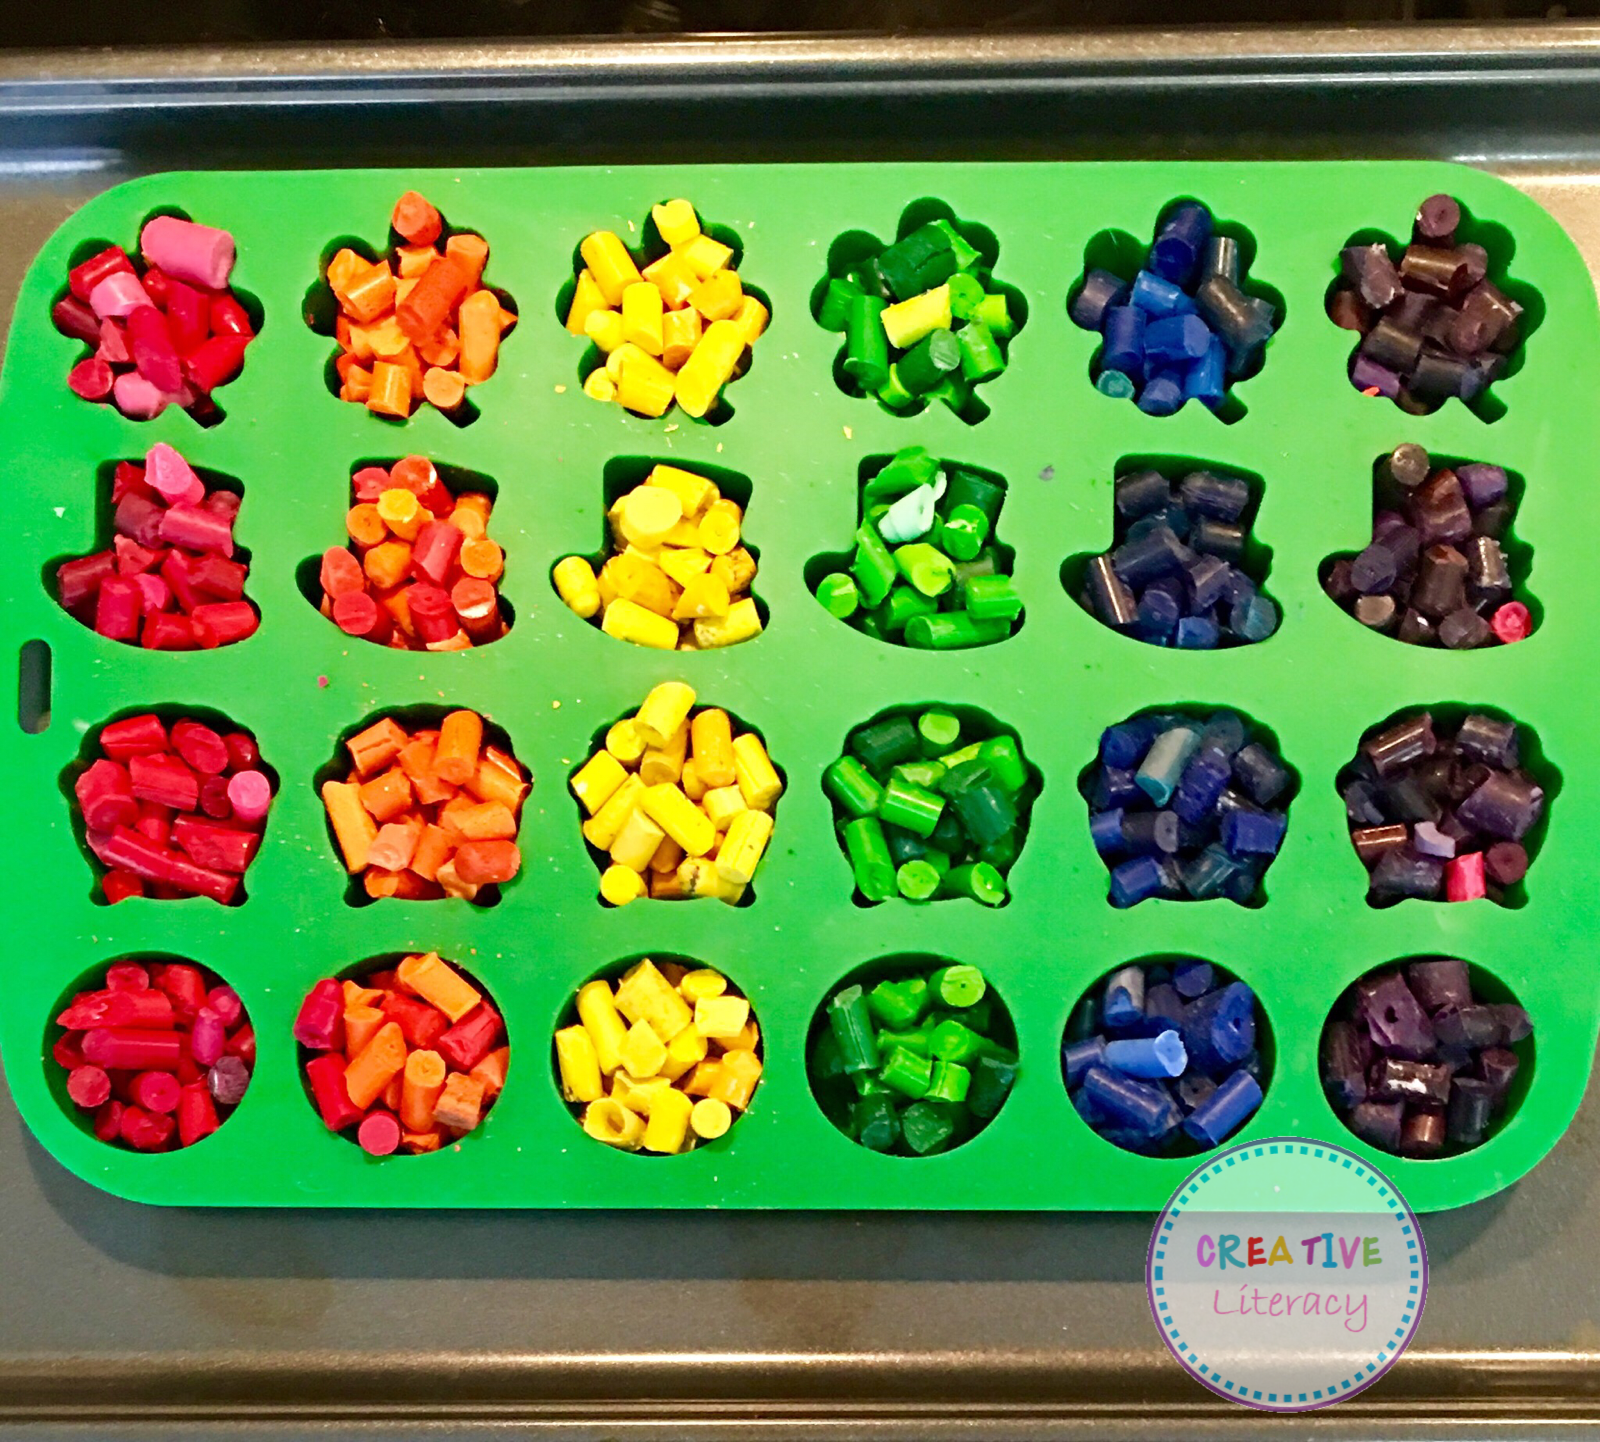
We started out using mostly edible ingredients when my kids were really young because I knew they would probably end up tasting it all anyway. Since then we have progressed into more detailed, play centered bins. Even at 4 and 2 years, sensory bins can really hold their attention and are the perfect activity to teach them numerous skills. 

We started out with bins concentrating on colors or shapes. Or even combining the two. This was when we were focusing on the simplest concepts
and our play was based on discovery and observations. This was our blue bin. The base was dyed rice and we added anything blue we could find. Paper circles, crayons, Legos, pom poms, etc. Going on a "color hunt" also made a great activity! We used this during winter, so we added some snowflakes to tie in the weather.


We also use sensory bins to explore themes within seasons. This fall bin was one of my favorites, because we added things that smell fallish, like cinnamon sticks, cloves, and nutmegs. Then we finished it off with fake leaves and pumpkins, pumpkin seeds, pinecones, dried corn, and even a pumpkin cookie cutter!


This was a really easy bin for St. Patrick's Day. We used some leftover Easter grass, plastic golden coins, and glittery plastic shamrocks to create the main bin. Then we used these cards to add some numbers that we used as counting mats.


This was one of the other bins we used the grass for. It was our main Easter bin. We added little chicks, foam and plastic eggs, and cups of stamps, cookie cutters, and little bunny erasers. The eggs on the sticks were great for sticking in an upside down colander for fine motor practice!


This was our other Easter bin. We used different colored dyed rice, plastic eggs, feathers, and these eggs to match upper and lowercase letters.


This Valentine's bin was one of my favorites. We used pink and red as the theme, with silk rose petals as the filler. Then we added plastic hearts, crayons, chenille stems, and glittery hearts on sticks that I numbered. (We also used these with our colander.) 


It was easy to change this out and create another counting bin by putting the plastic hearts in a pink paper cup and adding more number cards


Can you tell I love these cards? You can see some of the ways we use them in this blog post.

Sensory bins are definitely not just for Littles though! We also use them to explore so many more complex topics.

We used this simple bin when we started talking about zoo animals. It started with some dried beans, a few animals, a couple of plastic rocks and trees, and some glass marbles for water.


As we learned about more animals, we added another set of them, as well as some wooden blocks to build enclosures. We also sorted the animals into their separate enclosures and later made a cave from the blocks. This was great for imaginative play, learning about the animals, and even sharing...

We had to discuss that taking all the blocks and letting someone "borrow" a few was not, in fact, the correct way to share. Preschool logic!


This was another fun habitat bin. We used blue water beads, sea shells, and some plastic ocean animals. We also learned not to add real starfish or cover the bin. (After a couple days of wondering what the small was.)

We also added some shovels and empty 3D shapes for the kids to experiment with.


Our plant unit was a great way to incorporate a sensory bin. The filler was dried peas and we added some small garden tools, seeds, silk flowers, and plastic butterflies. They had so much fun "planting"!


This was another one of my favorite bins, but it was so easy! The kids are constantly asking to help me cook and loving playing in their toy kitchen, so this was the perfect bin for our fall unit! Cinnamon sticks, plastic apples, felt "crust", small pie pans, and some measuring scoops were added to a bin of oatmeal and the kids played with this for hours during the time we had it out!

 Sensory bins are definitely a learning staple here. They can be as simple or in depth as you want, but provide hours of learning opportunity! Do you use sensory bins? What is your favorite to create?

Sunday, October 14, 2018

Using Apples To Teach Growth Mindset


Have you ever been in the middle of a lesson and thought “oh my goodness! This would make the best activity for _____!”

I got so excited the other day while I was creating some activies for our upcoming apple unit and this happened to me. These days students are so stressed out from the pressures of tv and social media and the idea that everyone should be perfect. With my son beginning junior high this week, it is something I remember from my time at that age and something I am not looking forward to him experiencing.


This is a simple activity to remind students that even though they may not all be just alike, they all have something that makes them special.


Do you remember the first time someone showed you that if you cut an apple in half horizontally it creates a star? I have no idea how old I was when I learned this, but I know it was forever ago and I still think it's so cool!

I used different colored apples to emphasize this lesson. The apples were different sizes, shapes, and colors, which was a great introduction to how people are all different. I also pointed out how pretty all the different colored apples looked grouped together. We talked about how boring it would be if everyone looked and acted the same way.


I noticed one of our apples had a brown spot, which made a great improvised lesson. I pointed out that even though the apple had a little part that may not be perfect, the apple was still perfectly fine to eat. It was a great way to point out the fact that we all have imperfections, and they are only a tiny part of who we are as a whole.


We then talked about what we know about apples. My kids are pretty small so we just talked about the basic attributes of apples, but this could definitely be used with any age and answers from older kids are always fun! 

After this discussion I cut one of the apples in half vertically. We discussed what the inside of the apple looked like and anything special about it.


I then asked them if they thought the inside of the apple would look the same if I cut it differently. You may have students who know it will make a star, but also some that don't. I cut the apple in half horizontally and my kids were surprised to see that the seeds inside now made a star pattern.


We took this opportunity to discuss how sometimes we can look at something over and over and not see the thing deep inside that makes us special or surprises us. Something we may not know is there until we look at each other or even ourselves until we take the time to look inside us in another way. 


This was such an easy hands-on lesson with an extremely powerful message! If you want an easy way for students to record their observations (plus some prompts to encourage your students to write about the special qualities inside themselves and others!), you can find my Apple Growth Mindset resource in my Teachers Pay Teachers store.

https://www.teacherspayteachers.com/Product/Apple-Observation-and-Growth-Mindset-Activity-4006202

Sunday, March 11, 2018

Bringing New Life To Old Crayons

I've been saving an entire plastic storage container of broken crayons since my classroom days. I really wanted to melt them down and make new crayons with them, but was a bit worried they would be harder than I thought. I pictured melted wax all over my kitchen resembling the random crayons left in my car during the hot Texas summers. Like little puddles of miniature colored snowmen that got too much sun.


We started by sorting our crayons. We have been talking a lot about rainbows and my youngest is still learning the colors, so this was a great way to incorporate those skills. He wasn't the best sorter, but my daughter was a huge help! We put each color into a clear plastic cup, and they played while I peeled and chopped the crayons. This was by far the longest part, but slicing the label with a box cutter (since I couldn't find my craft knife) made the process much faster.


Once we had all the crayons chopped the kids helped fill the silicone mold. There were six spaces for each of the four shapes, so this mold was perfect for making all of our colors!


Once all of our crayons were in, we (carefully!) moved the mold to a cookie sheet. It definitely would have been smarter to do this first.


We set the oven on 200 degrees and baked them maybe 20 minutes. We checked them often and ended up adding a few more pieces to each section as they melted. It went so much faster than I thought it would!


We pulled them out as soon as they looked fairly melted. I wanted the "chunky" look with different shades of each color. We took them out and let them cool for about an hour and a half. I definitely should have let them cool a little longer, since they still felt warm and a few of them came out less than perfect, but I was really impatient to see the results!


They still came out so much easier than I thought they would! The kids loved seeing the results. and couldn't wait to use them! We put them in this fun box we found and plan on taking them camping with us over St. Patrick's Day!


Have you ever made recycled crayons? What is your favorite tip for making them fun and easy?

Friday, March 2, 2018

Year Round Centers With Seasonal Cards

I love being able to use the same activities more than once. Not only does it make my life easier, but the Littles are able to work on them whenever they want since they are already familiar with them. But we also like to change things up and match our activities to the seasons.


 I began making themed alphabet and letter shapes for each season and holiday and found so many uses for them. I even wrote a post about my Valentine's themed heart letters and numbers and all the ways we learned with them. 


While they are super easy to use all on their own, I wanted some activities the kids could use a bit more on independently as they grow. I came up with some more "structured" centers that guide them and build on what they already know. There are also ideas for using the number and letter cards for activities like the alphabet display above and the letter and number forming practice shown here.


One of the easiest activities is the counting mat. We use the large sized number cards and count out matching seasonal objects onto it. You could also use the smaller size and count the object on the page. There are also ten and twenty frame mats to help with learners who are just starting to count and need a bit more help.


My oldest already knows how to count, but this activity teaches multiple representations of each number. She chooses a number card, counts concrete objects, and finds the matching picture, word, tally, ten frame, and number line. This is the perfect activity for the number of the day!


It can also be a differentiated center by mixing the pieces for a few different numbers and letting the kids sort them. They could even work together in groups to do this.


We are starting to explore the ways numbers work together, so I made this number bonds mat to introduce the idea of fact families. We use a large card to represent the larger number, count that many objects onto it, and break that into two different amounts. Then we match those with the smaller number cards.


 I also made some addition and subtraction mats to practice these concepts in a concrete way. She draws two numbers and counts the correct number of objects for each. (In this case holiday m&m's, because who doesn't get a bit more motivated when chocolate is involved?) Then she moves the objects from both boxes to the other side and counts them together to find the total, and picks the matching number card.


We also made a subtraction mat that works in the same way. She picks two cards, putting the largest in the first box and counting the correct number of m&m's. Then she moves the number of objects in the second box according to that number card. The remaining objects from the first box get moved to the last box to find the answer, and the correct number card gets matched with it.


My oldest also knows most of her letters, but we are working on letter sounds right now, so this is one of our favorite activities. It seems simple, but it is so helpful! We pick a letter card for our mat and start with the objects in our letter bin. Then we walk around searching for other objects that start with the same sound. This is perfect for the letter of the day or week!


We used this word families activity to look at all the words we could create by choosing a rime card and switching out just the first letter. It was also a great introduction to rhyming words.


This same activity can be used for older learners to explore making words on their own. It even comes with a recording sheet to turn in or to laminate so kids can practice writing the words they make.


There is also a spelling practice mat to help with spelling sight words, names, vocabulary words, etc. Any word card can be added in the blank square and the kids use their alphabet cards to build it.


These make great hands-on activities or centers to practice the basic concepts that are so important to foundational learning. With the activities being able to be used all year, they are perfect for students who need a little more practice or for review. Keep the same centers and just switch out the cards for your current theme! You can find these centers in my TeacherspayTeachers store. The bundle includes all current letter and number cards as well as any that will be added in the future, or you can get just the centers by themselves. 

What other centers would you like to see for these cards?

Monday, February 5, 2018

Having Fun (And Learning) With Candy Hearts


I love incorporating holidays, themes, and seasons into our learning. It just seems to make it more fun for all of us. One of our favorite learning manipulatives for Valentine's Day is a bag of candy hearts. They can be used in so many ways and are an inexpensive way to bring some fun into your activities. 


We use candy hearts for so many different lessons that we have a little candy heart center set up. This way the lessons as well as the materials are easily accessible, which is helpful since we homeschool. My oldest can work on these activities whenever she feels like it without waiting for me to pull everything out. This would also be a great way to have your centers set up in a classroom, as it will allow several different activities to be switched out quickly and easily based on student needs.


One easy activity we do is building shapes with the candy hearts. I helped my learner out a bit by drawing the shapes on our chalkboard table and she traced them with the hearts. You could also simply draw the shapes, or let them try to create them on their own. This is great for fine motor skills, so Littlest One just practiced making a straight line. (He LOVES to do activities with his sister!)


 We also used these hearts for a great no-prep measuring center. We simply grabbed some materials from around our learning area, and I asked her how many hearts long she thought they would be. Then we measured the items and compared them to her guess, sneaking in a little estimation lesson.


My oldest did a fun science fair project this year on dissolving candy canes in different liquids. We simplified this a bit and used candy hearts instead of candy canes to make a fun Valentine's experiment. We kept it easy and used vinegar, hot water, and cold water.


We have hearts with letters and numbers on them, which I wrote about in this blog post. We use these hearts along with our candy hearts to practice some of our skills. One thing Bug is focusing on now is letter recognition and formation, so she "traces" her letters with the candy hearts.


She has already mastered counting to ten, but we are practicing her teen numbers by using candy hearts with the printable hearts used as counting mats.


The other day she surprised me by modeling addition problems with her princess toys. (Thank you Mickey Mouse Clubhouse!) Because she showed interest in this, we have begun modeling very simple addition problems using the number cards and candy hearts. 


We started by making a number sentence with the hearts and counting the correct number of candy hearts on each addend. Then we moved the hearts to the other side of the number sentence and she counted them together and found the correct sum.


If you're looking for some easy printable candy heart activities, I have this great Candy Heart Activities Pack in my TpT store. It includes 9 different printable activities to do with your kids. They can also easily be used as a center or glued into a manila folder to create folder games. The pack includes both colored and black and white versions of most activities.


This color sort is great for the littlest learners, or even those older ones that need a little review. It makes a basic activity a little more fun and festive.


If your kids are learning to count, these ten frame pages are a great way to add some hands-on practice.


Another way to practice both counting and sorting is to use this graphing mat. It also has an accompanying page of questions that can be answered based on the completed graph.


These pattern cards are a fun way to introduce patterns. There are 20 different cards, as well as some blank cards for students to create their own patterns. This is a fantastic way to assess whether your students have mastered the idea of patterns.


I think this is my favorite activity in the pack. It is a creative writing activity that allows students to imagine what kind of candy heart they would be. It also includes some questions you can ask your kiddos before they begin to design their heart, as well as two different types of versions for them to write on. This would look so cute as a class display!


This is a fun but simple STEM activity. There are ideas included in order to extend the activity and further understanding of using different methods in order to complete the stacking challenge.


These are great ways to incorporate a little sweetness into your learning using just a bag of candy hearts. Do you use candy hearts in any learning activities? Let me know what your favorite lesson is in the comments!

How To Create A Pumpkin Stand For Dramatic

 We love dramatic play. It's one of our favorite activities. One of the best things we did this year was create a pumpkin patch. Natural...